Wednesday, December 31, 2014

Adding Onto Our Little Apartment

Back in August or September Jan said to me, "I've been thinking.  I know we won't be building our house any time soon.  If we added a room out the back, we could have a real kitchen, get our furniture out of storage (saving $100 a month) and actually have room to have visitors.  How much trouble and expense would that be?" 


I wanted to keep the foot print within the East end wall and the laundry room window on the building side and inside the stone retaining wall on the outside.  That could make it 16 by 19.  I figured a way to build it fast with sips (structural insulated panels) for the walls and roof.  The whole thing with appliances and all could be done for $10,000, I thought.  We told Jason to get us on his schedule to pour the slab.  I set stakes and pulled strings to see exactly what it would look like.  Jan and I got around to actually standing in the space and looking to see how our furniture would fit shortly before Jason was ready to start.  It would not. We quickly realized that the space was just too small to do what we wanted.  So, the project was off.  We would save the money and be happy in our little space.

I was really disappointed that it wasn't going to happen.  The only way the space could be expanded was to the East, past the side of the shop building.  That would put the outside door around the corner facing North;  actually a better thing. And the South East corner would be cut off to fit inside the stone wall.   The foot print would be 16 by 26.  The old plan, using sips, pushed the limit of structural support for the roof, so I did a quick analysis of the costs to build the new plan with conventional framing.  I found out the material cost would be substantial less, although the labor would be much more.  The thing is, I work cheap (for Jan).  I think I can still build the new, bigger plan for the same money.  It will just take longer to build and finish.  It's back on!


The floor plan will essentially stay the same except extended to the east.  The kitchen cabinets will line the west wall with an island.


In the 2 weeks around Thanksgiving, Jason and his guys excavated the site, laid a block foundation wall and poured a slab.  I was gone for most of the fun, having been working in Minnesota, then Thanksgiving with my siblings in Bristol, IL, and then to the USEA convention in Texas (all in those 2 weeks).  I did have a couple of days at home in there where I connected the sewer pipe for the new kitchen to the existing main sewer line.  I also got a start on foundation drainage and insulation.  For that, I am installing 2 inch closed cell foam (with borax in the foam to repel pests) on the outside of the block foundation.  This will be covered with cement board to protect it.


With the foundation insulated and backfilled, the next step will be to frame the walls and roof.  We know that the kitchen cabinets will run along the West wall and that the center window from the existing wall (that will be removed and the space become the doorway into the new addition) will be installed in the new West wall over the sink.  The window configuration of the other walls is still to be determined.  We have several windows (that we collected and moved from Virginia) that we may use, but we will need a few more.  So, the very next step will be to decide how we want the windows to work in the new space and acquire the ones that we still need.

Tuesday, September 30, 2014

Another Baby Step to Building a House; Water Line

Last winter we did a fair amount of clearing toward our intended house site (as I said a few blog entries back).  And I have been doing a bit more here and there since.  The "road" down the hill to the house site is well established and has had many trips up and down by vehicles,  so it is well packed dirt. But it is rather steep and is just dirt, so I do worry about erosion during rains.   We wanted to get it to a more finished point and put gravel on it ASAP. 

Spring and Summer are my busy work time and I didn't get a lot done around here between work trips.  But this August, when I got home from my trip to New York (Millbrook Horse Trials, www.millbrookhorsetrials.com), I found myself with a little time, nice weather, and a few dollars in my pocket.  Time to gravel that road.  Only one complication: the best place to run the water line to the house site is right under this road.  If you look back to the early blog about the water line, you would see that I installed a valve box in the ground near our entry gate that split the line for the shop and stubbed and valved a line for the potential house.  I needed to install that pipe from this valve box up by the entry , down the hill through the road, and toward the house site before it gets covered with gravel.

 
I used 1inch PEX pipe and "sharkbite" type connectors as I had for the initial water pipe installation.
I borrowed a big, ride on, ditch digger from my Son-in law's Uncle Sam Burkey, who has an excavation and earth moving business.  It's great to have such generous friends in the family; saved me about $500 in machine rental.


  My plan was to run that main pipe down the hill under the road (really, driveway) to a point where the ground levels off , set another valve box in the ground there with a split (one way that could continue on in the future to some unknown spot or use and another to toward the house site).  Then closer to the house site, I would install a frost proof hydrant and another valve box for a future run to the house.  All totaled, this would be about 300 feet of ditch and pipe.


Sunday, June 29, 2014

The Flowers of Moss Hollow, Native and Imported

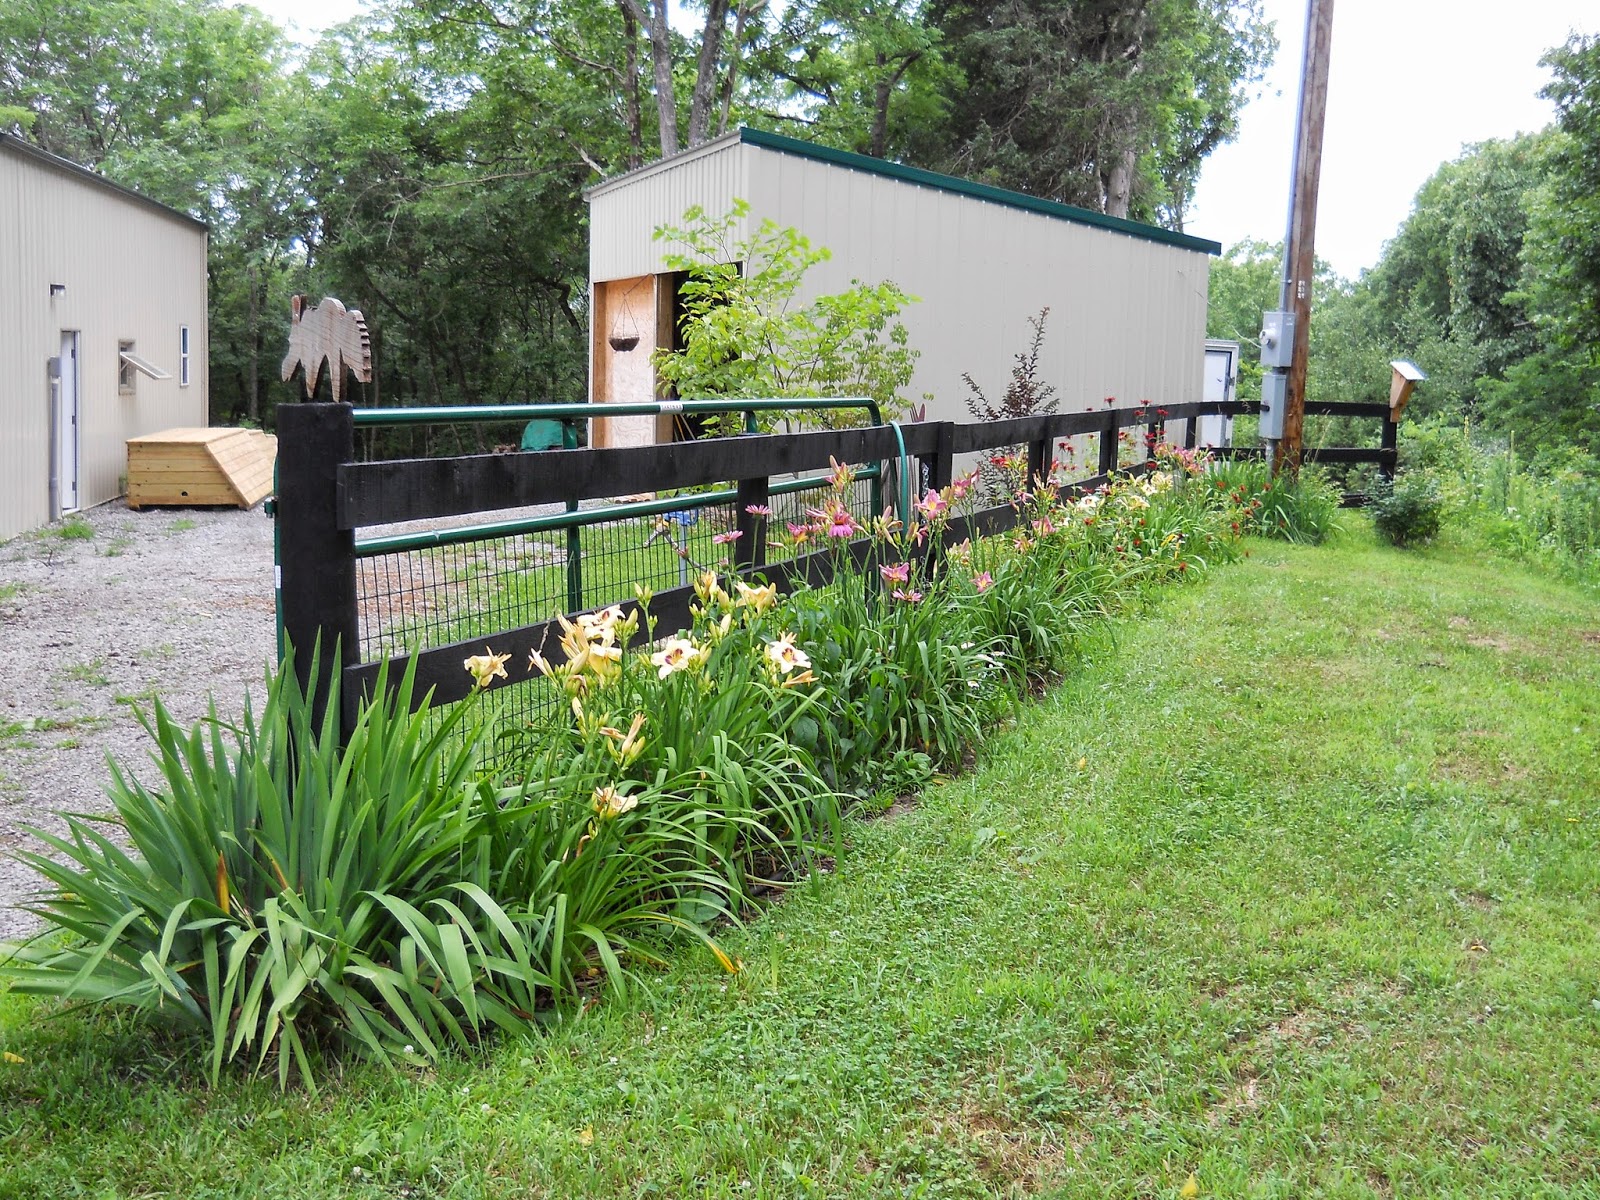
Now that we've had our hands on this property for over a year, our gardens are starting to look pretty good.  We've pushed the jungle (and ticks) back a bit, established some lawn areas, planted some gardens, taken stock of the wild things growing already and made more plans.

Here, I want to share some of the stories of the plants and flowers around us.  Many of them have been moved from Northern Illinois to Georgia to Virginia and back to Southern Illinois.  Others have been found along the way.  Still more were here for us to find.  And, of course, we have bought plenty. 

When we first walked the property, the area that now holds the shop, etc. was the only (sort of ) level part.  It was the original house site, but it was covered in brush and small trees.  The old buildings were probably leveled close to 50 years ago.  There were thousands of (what appeared to be) daffodil plants everywhere.  I would have loved to carefully dig up each and every one and find the perfect new place for it.  But we were living 800 miles away and needed to get the site cleared and buildings built.  So it all just got pushed flat.  And we hoped for the best.  I'm sure many were lost, but, to our delight, hundreds of them showed up all over the place; even in the driveway.  Most are narcisis, but there are also some fancy daffodils. 


Early on, we also noticed a nice patch of iris growing in the woods off to the west of the shop site.  That area got cleared somewhat, so they could get some more sun.  And last fall, I cleaned out the briers that filled the whole patch.  They thrived and this spring gave us some blossoms.  I'm sure next year will be brilliant.


There are wildflowers, of course.  We really have not gotten out far into the wood once the ticks and chiggers bloomed, so probably have lots more to discover in the future.  I have found a nice patch of red trillium just a short way off the back lawn, and a nice bunch of Jack-In-The-Pulpit at the spot where I hope to build a spec house.  I moved the Jacks a bit closer to our view when they started to fade.  I bought some white trilliums, more Jacks, some lily of the valley and some maiden hair ferns on ebay and naturalized them just into the woods.


Many of the plants have moved with us several times. The hostas and coral belles were with us in Georgia.  The ferns came from our garden in Virginia.  


The cool red flower below was a find at the Leesburg Garden Fest a few years back.  I don't remember what it is, but this year it sure put on a show!


We accumulated several daylilies and iris while in Virginia and they have multiplied nicely.


One day, while running errands in Purcellville, VA, I saw a big wad of swamp iris in a front yard with a "FREE" sign.    


The gardens at my old house with Lola are full of plants we collected over the years.  Some came from my Mother's gardens (and some of those, probably from my Grandparents).  Lola has recently shared many of them with us.  At least 20 years ago, Lola and I did some major surgery on a giant forsythia bush for her parents neighbor.  It improved the parent bush hugely, and we ended up with some nice roots.  We grew them at our  place in the country and then moved them with us to town some time later.  This fall, Lola decided to replace the bunch and asked if I wanted them.  Sure!  She cut them back and I yanked them out of the ground with my truck and a chain.  There were about 10 separate chunks.  I plunked them in the ground all around and hoped for the best.  I believe they all came on this spring.  They have put on nice growth and next spring, should be magnificent.


Monday, April 7, 2014

Not As Creepy As It Looks

I have almost always had a vegetable garden.  In fact, back in the 80's, I gardened about 3000 sq. feet of vegies and gladiolas (3 and 4 year old Ellie was my flower salesgirl at the local florists).  The size changed over the years, but always found space for at least a couple tomato plants.  Before moving to Moss Hollow, we had a real nice plot in Virginia. It had been a garden before we had it and we had access to lots of well rotted horse manure.  We had all the vegies we could handle plus plenty for our landlord, Walter Scott, and the girls at Kelli Temple's barn.


Now, Moss Hollow is pretty much just trees and rocks and, of course, moss.  But vegies need sun.
Behind the shop, in front of the septic tank, is a pretty sunny spot.  That's where we're going to put the little garden.  The raised beds we did in Virginia worked great, so that is the plan here, too.  So here we go:  A small raised bed, 4X8ish, 2X8 sides.  I got a load of compost from a guy in Carterville: Good Earth Compost, to help the soil.  We do have rabbits (go figure, in the woods?), so we needed to fence it.  We had some nice decorative fence sections that we used in Georgia (and moved a couple of thousand miles); kind of fancy, but we had it.  A basic, purely functional vegie garden, right?


I'm sure it will look different with a bunch of green stuff growing in there.  Luckily, it's not visible from the road.  You would have to go around the back of our building to see the "family plot".

More Stone Wall

You may recall that I built a stone retaining wall and steps on the  East side of the shop last Fall.  The plan was to continue it on toward the back and on around the back until it met the grade towards the South West corner, but finances interrupted that process.  I was buying the stone from a quarry a ways East of here and had spend a couple of hundred dollars doing the first part.  The critical  part was finished, the rest could wait.


Over the winter, when weather and mud allowed, I continued clearing the road to our new house site and the site itself.  The site is just 50 yards or so down the hill to the next rock shelf.  In the picture above, the photographer is standing at the head of the driveway going down.  The building site is behind me and to my left.  It shows well in this photo, below, taken from the top of the stone steps, looking back down the other way.


Rather than simply cutting trees off at the ground, I needed to get the whole stump out.  This is a rather slow process with my little tractor.  I have made quite a lot of progress and now have some nice open areas near the new house site.


The process of clearing, digging stumps, and leveling ground has exposed lots of rocks.  As I came across rocks, I hauled them back up hill where I needed to build more retaining wall.


After a couple days of nice spring weather, I got that wall 99% finished.  Just need a few more to get around the driveway to grade.


Thursday, November 28, 2013

Rock wall

One more outdoor project that I have been wanting to do for some time, and really wanted to complete before winter set in, was to build a dry stack retaining wall on the low side of the shop.  I have been planning a drive way to circle around the building from the start.  So every time I did any earth moving, I did it with that in mind.  That was all set pretty much where I liked it by October, but I did want to set the stone wall before I spread the gravel.

I was told about a local stone quarry that sells local stone for building.   The quarry is a bit far (almost an hour drive near Eddyville) and I figured I couldn't haul too much at a time. But the stone has the right look and is always available.  I ended up hauling 7 pallets in 3 trips; probably close to 8 tons.  I also had to make 3 trips (the opposite direction) for fine gravel for bedding and backfilling the stone.


I have been taking a pictures from a couple of spots since we first started.  One of these spots looks towards that side of the shop.  Here is a series from the beginning:


Although now all the plants are down and dormant, the bed between the trees on the left is filled with ferns and hostas that Jan moved from Virginia.  This should all look pretty spectacular in the spring.


Saturday, October 5, 2013

Room Divider

This was the view of the Laundry/Kitchen end of our little apartment:


At the far left in this photo, the tall blonde boxy thing is a narrow book shelf unit from Ikea (back when we lived in Batavia) that we bought as a pair and have used in several configurations.  Although it's nice to see as much of our little place, we thought it might actually be better if we hid some of the clutter.  So a divider seemed a good idea.  Here's what we did:

The second shelf unit was added with custom spacers and shelves in between to accommodate the vacuum cleaner, computer printer, toaster oven, and electric frypan. 


Next I added plywood backer:


Deciding on what to cover this surface with was going to make or break the whole project.  We hoped to find interesting fabric.  So we visited Handcock Fabrics in Paducah, Ky. (about 50 miles from us). This isn't your typical Handcocks Fabrics like in every strip mall in the mid-west.  It is an independent store in the city that has the National Quilting Museum.    http://www.hancocks-paducah.com/
We did find something we thought would work.  It did.


We really like it.  Although the room is actually a bit smaller, now, it doesn't feel bad.  It defines the space better and does hide much of the utility spaces.  The living area seems a bit more formal, without including the kitchen (and laundry) stuff.