Saturday, November 21, 2015

Exterior Finish

I had some ideas of how the outside of the room should be finished, but (as usual) the final choices evolved over some time.  I knew that I wanted to stress the horizontal lines; complimented by the low pitch of the roof and the wide overhangs and big cantilever of the roof corner.  The foundation insulation actually extends a bit proud of the wall and is capped with a treated wooden sill.  This adds a nice firm visual base to the structure as well as another horizontal element. After the final parge coat of stucco, it will be painted green; relating it to the other green elements as well as adding to the horizontal emphasis. 

For the siding, I was open to using what ever made sense.  Vinyl is zero maintenance, which is nice.  But the problem is all the trim required to cover all the edges of the siding: J-channel around windows and at all inside and outside corners of the building.  I certainly did not want to see that!  Some kind of stucco might have been OK.  But I really liked the idea of the continuous horizontal lines wrapping around all the corners that Cedar lap siding would give me.  I had a small pile of siding that I had gotten some time in the past (yard sale or lumber yard auction), so that got me started.  Of course, that was just the beginning and I had to buy quite a lot more as I progressed.  When I travel, I usually check Craig's list for things on my wish list.  While in Northern Illinois working in June, I found some beautiful old (but un-used) clear cedar siding in Milwaukee.  Even though it was a bit of driving, it was superior quality material at a great price. 


 The windows are all very close to the same height and their tops set level to each other.  This seemed a natural place for a band of color.  This kind of thing is a traditional "Craftsman" detail.  The overall style of the place seems to naturally be evolving into a "Modern Craftsman".  I considered putting a band under the windows as well, but concluded that would be too much.  Besides, the window bottoms don't line up exactly and I would rather not make that obvious.


I attended the annual meeting of the Walter Burley Griffin Society in Madison, Wisconsin in June.  The afternoon was filled with house tours.  Many of the houses had several of the elements that I have used here like wide overhangs, cantilevers, lap siding with mitered corners, and banding.  This was great inspiration!


The next area I needed to address was the gable.  A traditional craftsman detail for the gable is shakes.  This appealed to me.  Also, using cedar (in a different form) added a bit of continuity to the wall surface.  I filled the small area over the door with shakes to see how it looked.  I liked it and decided that would be what I would use in the big gable area.  Then I remembered something I saw some time ago:


While the subject matter isn't appropriate I figured, "If I'm going to the trouble of shingling that whole space, why not add some fun."  If it looks too bad, I can rip it off and try something else.  I first came up with a design for a crescent "Man in the Moon" and star, but knew that was too much for a first try, so kept it very simple.


The shakes really took a lot of time, and I got much better as I went along.  I got within a few hours of finishing it all up when I got sick and ended up in emergency surgery.  My recovery looks like it will push me into winter, so this is where it sits until I feel good enough and the weather allows me to climb ladders again:


12/12/15  Addition:
This week I got my skeletal ass up the ladder and finished the shingles while we had unseasonably warm weather. 


Monday, June 15, 2015

Forward Progress (Said the Tortoise to the Hare)

In the weeks (months) since my last post, really quite a bit has happened, although, on this end it seems like it's been very slow.  I've been doing as much work on the addition by myself as I can.  That, of course, goes fairly slowly.  By May I had gotten most of the framing up.  At that point I realized I needed help. 


The few rafters over the cantilevered part of the roof were not something I could set myself.  The fascia boards will also help support the cantilever and I certainly couldn't get those up in place by myself.  So I hired some pros from Burkey Construction to help me for 2 days.  Chuck, Mike, Ron, and me got the roof framed, the walls sheathed, the roof sheathed, shingled, and the big window installed in 2 days.


The "box" hanging on the wall in the photo above is where the kitchen window will be.  As I was framing, Jan asked if we could have a deep sill on the window over the kitchen sink for plants.  Sure.
So that's what that bump-out is for.  The window isn't there yet because it is still in the old wall inside.  It was our biggest window looking out of our little apartment.  It will be removed to make the new opening between the old space and the new one.

After the guys left, I installed the other windows and sealed the roof/metal wall connection.  The corrugated metal wall presented a  big problem for me here.  I couldn't do a conventional flashing detail because of the corrugations and foam insulation on the inside.  So here's what I did, and so far it's working.  I filled the gaps between the new roof and wall with spray foam.  Then I trimmed all the bulging foam flush with the roof and brushed on a water proofing sealer.  The kit I bought came with a roll of fiber to embed into the sealer for strength.  Followed by another coat of the sealer.  I don't see this as a permanent fix, but if I keep it maintained, I think it will last.  I'll probably just have to re-coat periodically.  Maybe a better solution will come to me, but for now, it's keeping things nice and dry.


Saturday, January 17, 2015

Addition Model

Jan said she was having trouble visualizing how all the elements of the addition would come together.  Could I build a model of it?  No problem.


Wednesday, December 31, 2014

The Addition Window Plan

The new apartment addition shell size and shape is set.  Before the walls could go up, we needed to decide on the windows.  We have a collection of windows that we found in various bargain situations; mostly Habitat ReStores.  They were originally intended for our first plan of a small cabin to live in while we built the dream house.  Of course, that plan has been long replaced by new plans.  But the windows remain.  While they are all similar, they are just different enough in style, color, or size that we really can't use them all together.

I've thought about the window placement since the beginning, but have had trouble pulling a plan together.  The West wall (kitchen wall) will have the window from the existing apartment wall recycled into the space over the sink.  So that one was easy.  But the other walls weren't.  The nicest views are to the East and South.  The East wall (more accurately, SE) looks over the nice fern and hosta garden toward the drive down to the house site (Moss Hollow Lane).  The diagonal wall faces the woods and foot trail down to the house site.  The South wall (really SW) looks toward the grassed clearing area, then woods.  All, more or less, look over Moss Hollow through the trees.  In the winter, when the leaves are gone, you can see the ridge lines across Moss Hollow and Indian Creek valley.  I knew we needed lots of glass facing these directions, but exactly how to do it and keep it affordable and looking OK, took some hard thinking.

Just looking at the blank space didn't quite work.  I needed to visualize the wall planes.  So I drew scale drawings of them and placed windows on them. Included were the kitchen cabinets, island and the big stained glass panel that we plan to hang in the gable end of the room.  I made scale cut-outs of the windows we had in inventory and tried them.  The only one that I felt worked, was a big 3 window unit that will work in the South wall. The others in our inventory were all singles and we really needed sets to take advantage of our views.


The other two walls called for groups of windows: as much glass as possible.  The drawings gave me a good idea of the general sizes of windows we needed for the space. 
 
 
 I checked Craig's list, and there was a nice group of 3 that would fit the East wall perfect.  The price was $115 each.  They were new vinyl and with interior grills.  Seemed a little high for Craig's list, so I checked Menards for comparison.  As it turned out, Menards had a similar window (no grill, which better matched my other windows) on clearance for $89.  I went for the ones at Menards.  That way I knew I could match the brand and style for the remaining windows in the SE (diagonal) wall (even if I had to pay full price).


OK, so now I have a plan.  I can start putting up walls as soon as I have the time and the weather doesn't scare me off.


Adding Onto Our Little Apartment

Back in August or September Jan said to me, "I've been thinking.  I know we won't be building our house any time soon.  If we added a room out the back, we could have a real kitchen, get our furniture out of storage (saving $100 a month) and actually have room to have visitors.  How much trouble and expense would that be?" 


I wanted to keep the foot print within the East end wall and the laundry room window on the building side and inside the stone retaining wall on the outside.  That could make it 16 by 19.  I figured a way to build it fast with sips (structural insulated panels) for the walls and roof.  The whole thing with appliances and all could be done for $10,000, I thought.  We told Jason to get us on his schedule to pour the slab.  I set stakes and pulled strings to see exactly what it would look like.  Jan and I got around to actually standing in the space and looking to see how our furniture would fit shortly before Jason was ready to start.  It would not. We quickly realized that the space was just too small to do what we wanted.  So, the project was off.  We would save the money and be happy in our little space.

I was really disappointed that it wasn't going to happen.  The only way the space could be expanded was to the East, past the side of the shop building.  That would put the outside door around the corner facing North;  actually a better thing. And the South East corner would be cut off to fit inside the stone wall.   The foot print would be 16 by 26.  The old plan, using sips, pushed the limit of structural support for the roof, so I did a quick analysis of the costs to build the new plan with conventional framing.  I found out the material cost would be substantial less, although the labor would be much more.  The thing is, I work cheap (for Jan).  I think I can still build the new, bigger plan for the same money.  It will just take longer to build and finish.  It's back on!


The floor plan will essentially stay the same except extended to the east.  The kitchen cabinets will line the west wall with an island.


In the 2 weeks around Thanksgiving, Jason and his guys excavated the site, laid a block foundation wall and poured a slab.  I was gone for most of the fun, having been working in Minnesota, then Thanksgiving with my siblings in Bristol, IL, and then to the USEA convention in Texas (all in those 2 weeks).  I did have a couple of days at home in there where I connected the sewer pipe for the new kitchen to the existing main sewer line.  I also got a start on foundation drainage and insulation.  For that, I am installing 2 inch closed cell foam (with borax in the foam to repel pests) on the outside of the block foundation.  This will be covered with cement board to protect it.


With the foundation insulated and backfilled, the next step will be to frame the walls and roof.  We know that the kitchen cabinets will run along the West wall and that the center window from the existing wall (that will be removed and the space become the doorway into the new addition) will be installed in the new West wall over the sink.  The window configuration of the other walls is still to be determined.  We have several windows (that we collected and moved from Virginia) that we may use, but we will need a few more.  So, the very next step will be to decide how we want the windows to work in the new space and acquire the ones that we still need.

Tuesday, September 30, 2014

Another Baby Step to Building a House; Water Line

Last winter we did a fair amount of clearing toward our intended house site (as I said a few blog entries back).  And I have been doing a bit more here and there since.  The "road" down the hill to the house site is well established and has had many trips up and down by vehicles,  so it is well packed dirt. But it is rather steep and is just dirt, so I do worry about erosion during rains.   We wanted to get it to a more finished point and put gravel on it ASAP. 

Spring and Summer are my busy work time and I didn't get a lot done around here between work trips.  But this August, when I got home from my trip to New York (Millbrook Horse Trials, www.millbrookhorsetrials.com), I found myself with a little time, nice weather, and a few dollars in my pocket.  Time to gravel that road.  Only one complication: the best place to run the water line to the house site is right under this road.  If you look back to the early blog about the water line, you would see that I installed a valve box in the ground near our entry gate that split the line for the shop and stubbed and valved a line for the potential house.  I needed to install that pipe from this valve box up by the entry , down the hill through the road, and toward the house site before it gets covered with gravel.

 
I used 1inch PEX pipe and "sharkbite" type connectors as I had for the initial water pipe installation.
I borrowed a big, ride on, ditch digger from my Son-in law's Uncle Sam Burkey, who has an excavation and earth moving business.  It's great to have such generous friends in the family; saved me about $500 in machine rental.


  My plan was to run that main pipe down the hill under the road (really, driveway) to a point where the ground levels off , set another valve box in the ground there with a split (one way that could continue on in the future to some unknown spot or use and another to toward the house site).  Then closer to the house site, I would install a frost proof hydrant and another valve box for a future run to the house.  All totaled, this would be about 300 feet of ditch and pipe.


Sunday, June 29, 2014

The Flowers of Moss Hollow, Native and Imported

Now that we've had our hands on this property for over a year, our gardens are starting to look pretty good.  We've pushed the jungle (and ticks) back a bit, established some lawn areas, planted some gardens, taken stock of the wild things growing already and made more plans.

Here, I want to share some of the stories of the plants and flowers around us.  Many of them have been moved from Northern Illinois to Georgia to Virginia and back to Southern Illinois.  Others have been found along the way.  Still more were here for us to find.  And, of course, we have bought plenty. 

When we first walked the property, the area that now holds the shop, etc. was the only (sort of ) level part.  It was the original house site, but it was covered in brush and small trees.  The old buildings were probably leveled close to 50 years ago.  There were thousands of (what appeared to be) daffodil plants everywhere.  I would have loved to carefully dig up each and every one and find the perfect new place for it.  But we were living 800 miles away and needed to get the site cleared and buildings built.  So it all just got pushed flat.  And we hoped for the best.  I'm sure many were lost, but, to our delight, hundreds of them showed up all over the place; even in the driveway.  Most are narcisis, but there are also some fancy daffodils. 


Early on, we also noticed a nice patch of iris growing in the woods off to the west of the shop site.  That area got cleared somewhat, so they could get some more sun.  And last fall, I cleaned out the briers that filled the whole patch.  They thrived and this spring gave us some blossoms.  I'm sure next year will be brilliant.


There are wildflowers, of course.  We really have not gotten out far into the wood once the ticks and chiggers bloomed, so probably have lots more to discover in the future.  I have found a nice patch of red trillium just a short way off the back lawn, and a nice bunch of Jack-In-The-Pulpit at the spot where I hope to build a spec house.  I moved the Jacks a bit closer to our view when they started to fade.  I bought some white trilliums, more Jacks, some lily of the valley and some maiden hair ferns on ebay and naturalized them just into the woods.


Many of the plants have moved with us several times. The hostas and coral belles were with us in Georgia.  The ferns came from our garden in Virginia.  


The cool red flower below was a find at the Leesburg Garden Fest a few years back.  I don't remember what it is, but this year it sure put on a show!


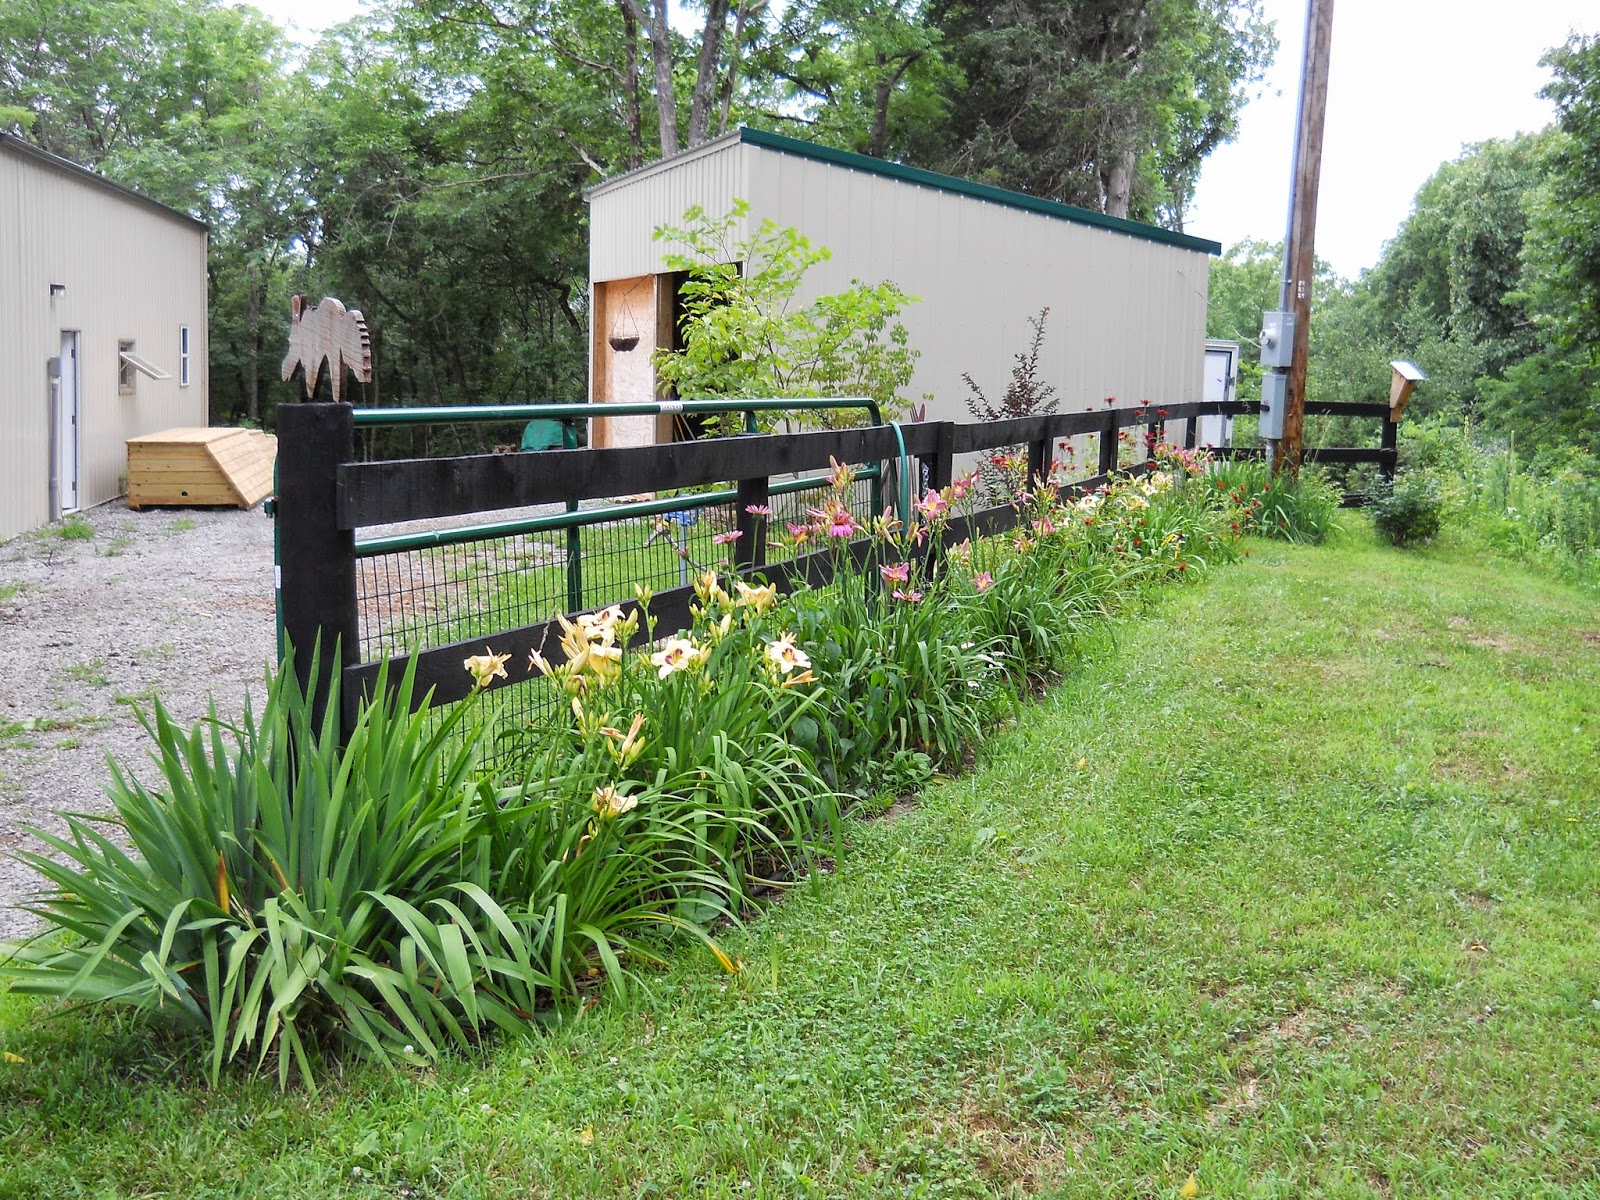
We accumulated several daylilies and iris while in Virginia and they have multiplied nicely.


One day, while running errands in Purcellville, VA, I saw a big wad of swamp iris in a front yard with a "FREE" sign.    


The gardens at my old house with Lola are full of plants we collected over the years.  Some came from my Mother's gardens (and some of those, probably from my Grandparents).  Lola has recently shared many of them with us.  At least 20 years ago, Lola and I did some major surgery on a giant forsythia bush for her parents neighbor.  It improved the parent bush hugely, and we ended up with some nice roots.  We grew them at our  place in the country and then moved them with us to town some time later.  This fall, Lola decided to replace the bunch and asked if I wanted them.  Sure!  She cut them back and I yanked them out of the ground with my truck and a chain.  There were about 10 separate chunks.  I plunked them in the ground all around and hoped for the best.  I believe they all came on this spring.  They have put on nice growth and next spring, should be magnificent.